How to Set up an Ecommerce Website with WordPress

Whether you’re selling a physical or digitized product, making money through a WordPress online store is easier today than ever before. They have easy-to-use tools that allow business owners to easily track different metrics without the need for an experienced web developer.
Read on to learn how you can create an ecommerce website through WordPress and successfully integrate different WordPress ecommerce plugins to monetize your content and leverage your hard work.
Recommended Reading: The Ultimate Guide to Starting Your Ecommerce Business
What Are the Requirements Needed to Set up a WordPress Account?
To set up a WordPress account, go to WordPress.com and click on the “Get Started” button on the upper right corner of the screen.
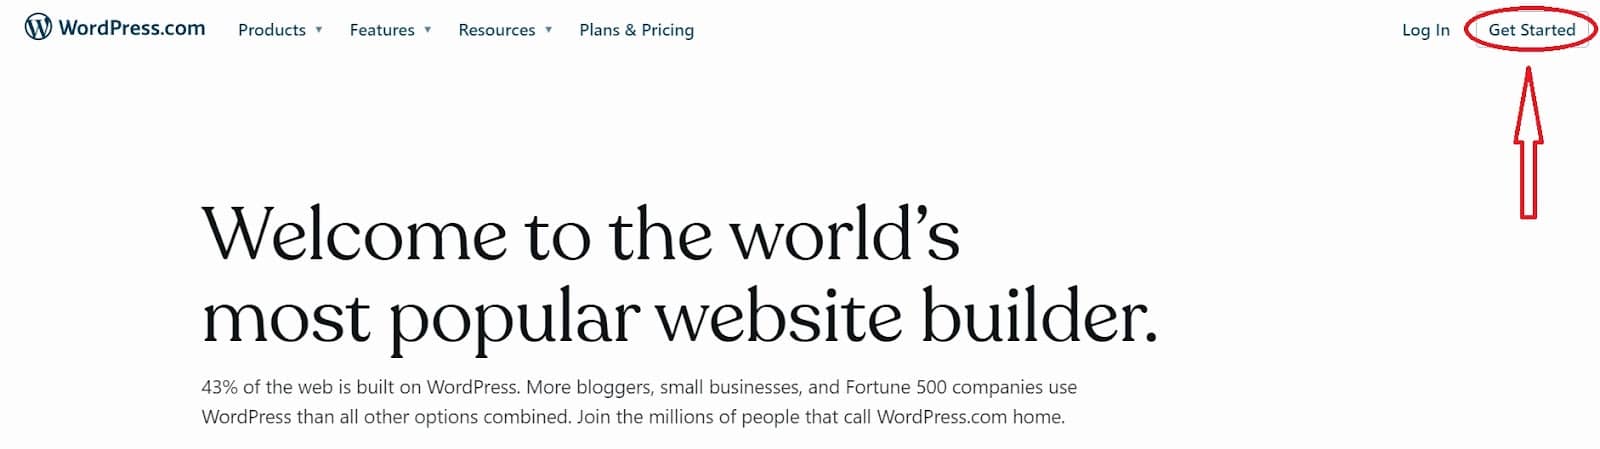
Add and verify your email address (make sure to check the junk/spam folder if it doesn’t show in your inbox), create a password and username, and then choose a plan.
Signing up on WordPress is free, but certain features are available only on paid plans. WordPress offers different plans for different user needs.

* Note: if you’re planning to use third-party themes and plugins, you’ll want to choose the Business or the Commerce Plan. Prices and features mentioned are accurate based on time of writing (May 30, 2023).
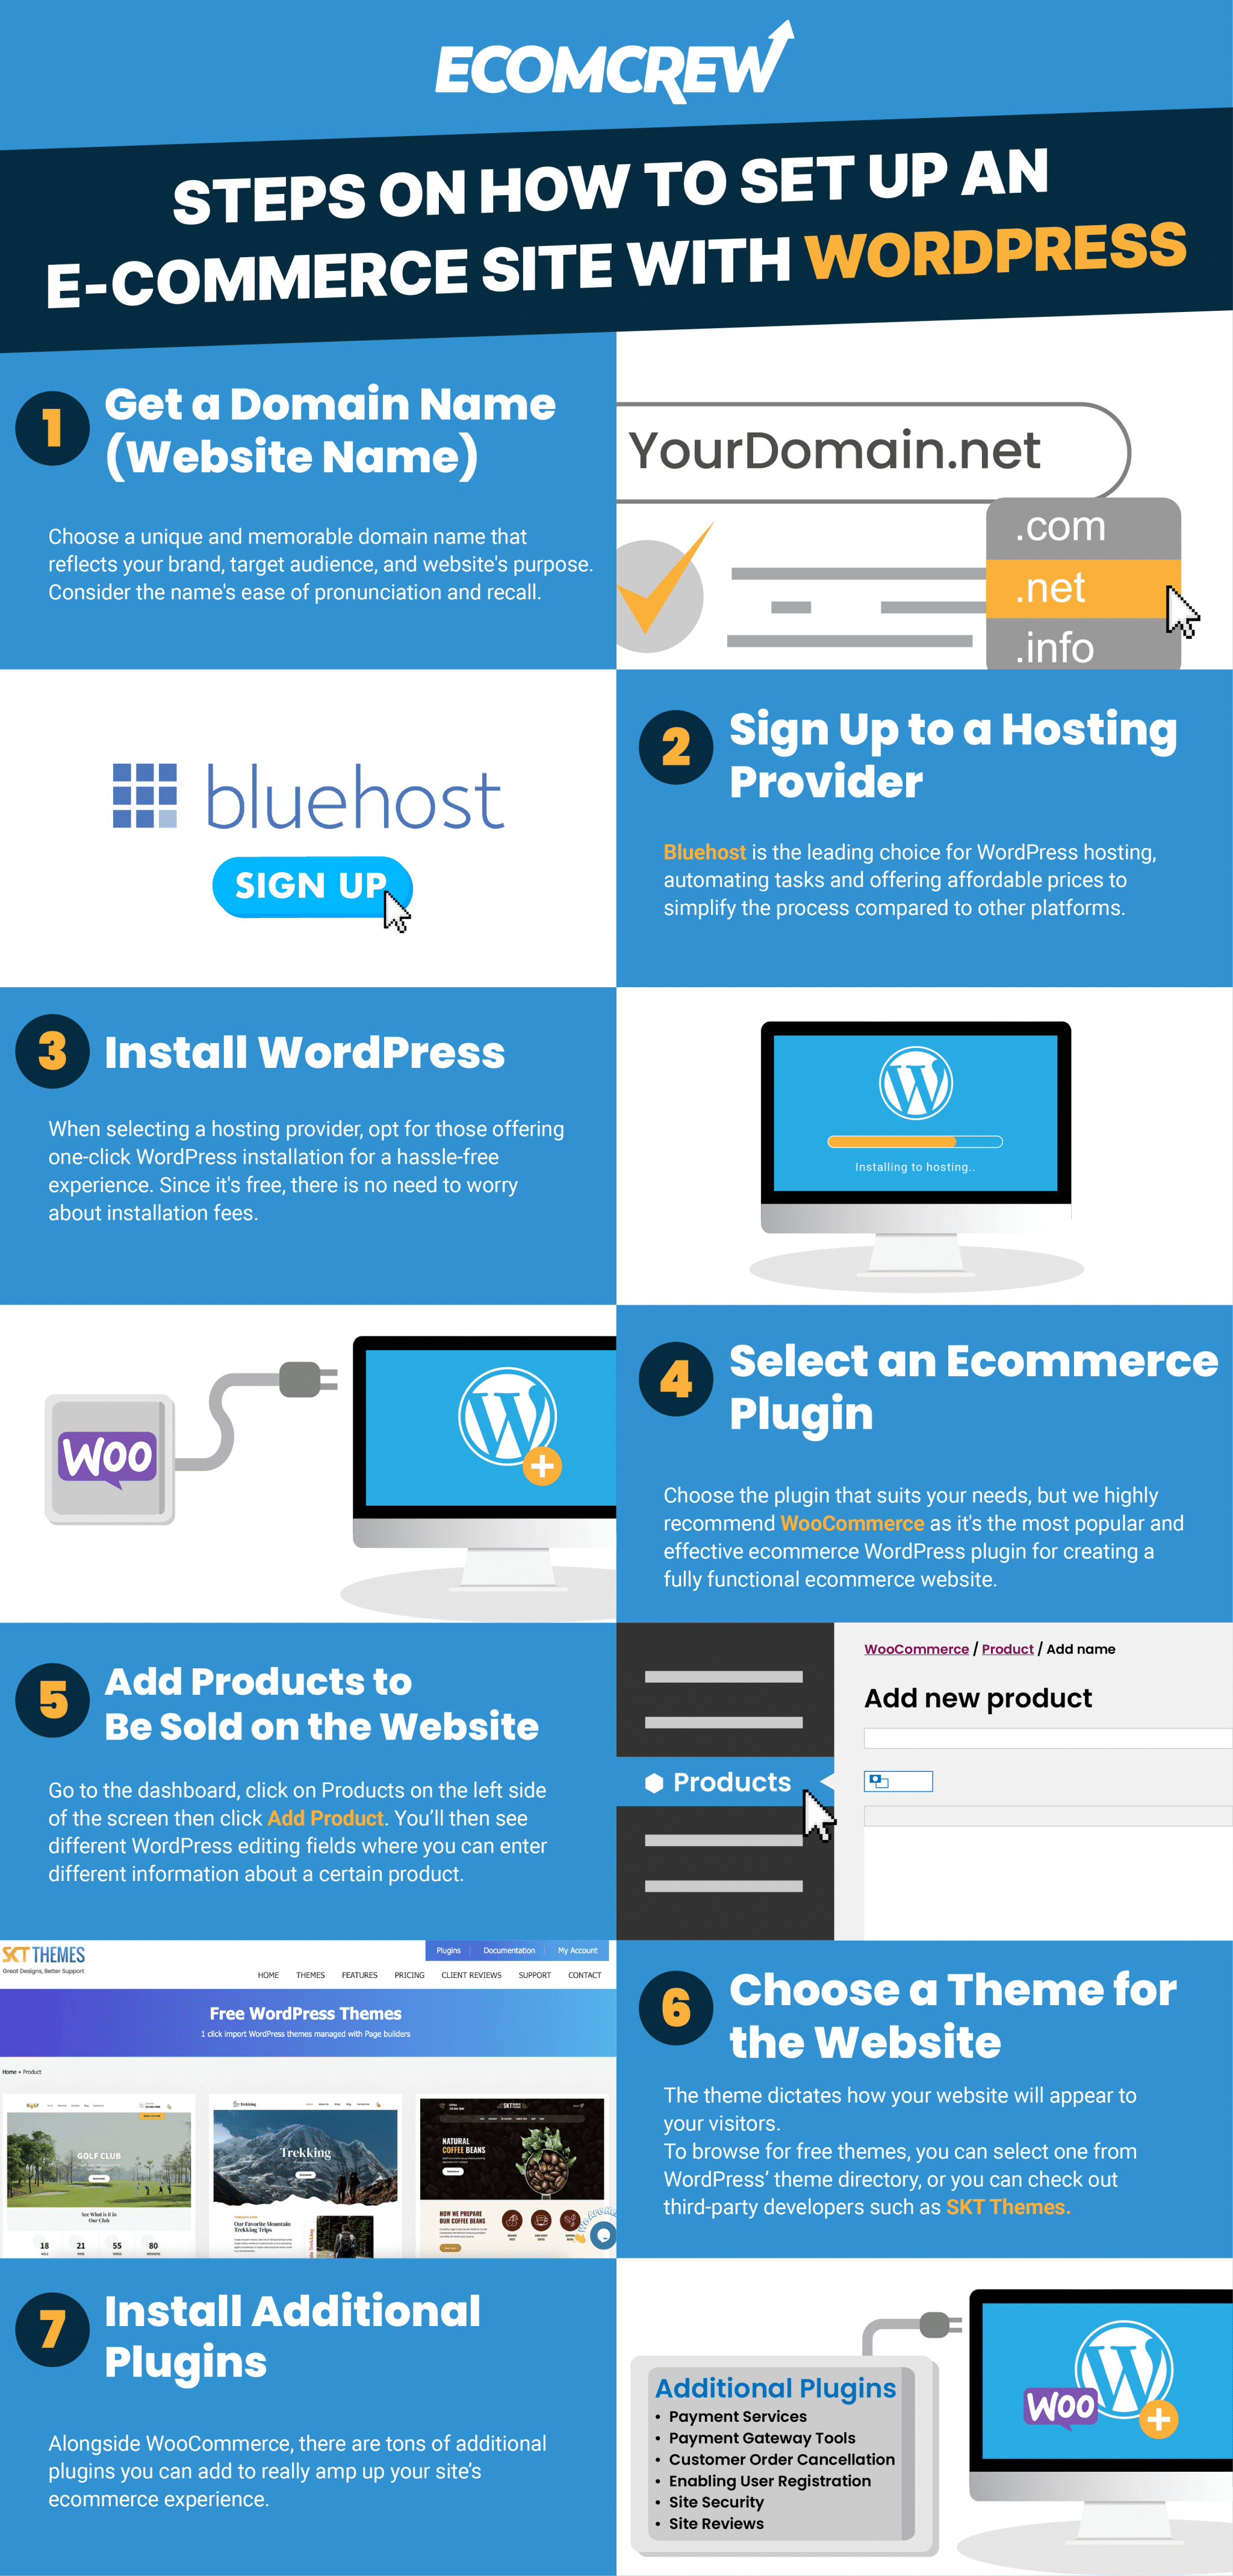
Steps on How to Set Up an Ecommerce Website with WordPress:
Step 1: Get a Domain Name
Your domain name is what people type in to get to your website. Choose a unique and easy-to-remember domain name. When doing this, make sure to consider your brand, target audience, and the purpose of your website. Some businesses have the right name in mind, but saying it out loud is a whole different story.
An example of a bad domain name is “Therapistfinder.com”. Their niche is helping people in California finding licensed marriage and family counselors. But when you split the words separately, it can be read as “The rapist finder.com.”
When you’re thinking of a domain name, you can use a catchy phrase, a call to action, or even experiment with a long domain name. “WeBuyUglyHouses.com” is an example of a good domain name. It’s catchy and straightforward. If you need help coming up with the perfect domain name, consider crowdsourcing online via Pickfu. This is a survey tool that will help you better understand consumer behavior.
Even Jeff Bezos’ first name for Amazon wasn’t a huge hit. He initially called it “Cadabra Inc” (short for abracadabra) to suggest the world’s biggest online book store. The name was later changed after his lawyer suggested it was too obscure since saying it out loud was similar to “Cadaver”.
Use a domain registrar tool like Google Domains or Bluehost to check if your desired name is available. A domain registrar is a company authorized to sell domain names to avoid the possibility of two companies sharing the same name of a website. After all, there are over 1.13 billion websites registered on the internet.
After you’ve purchased your domain name, it’s time to move on to the next step.
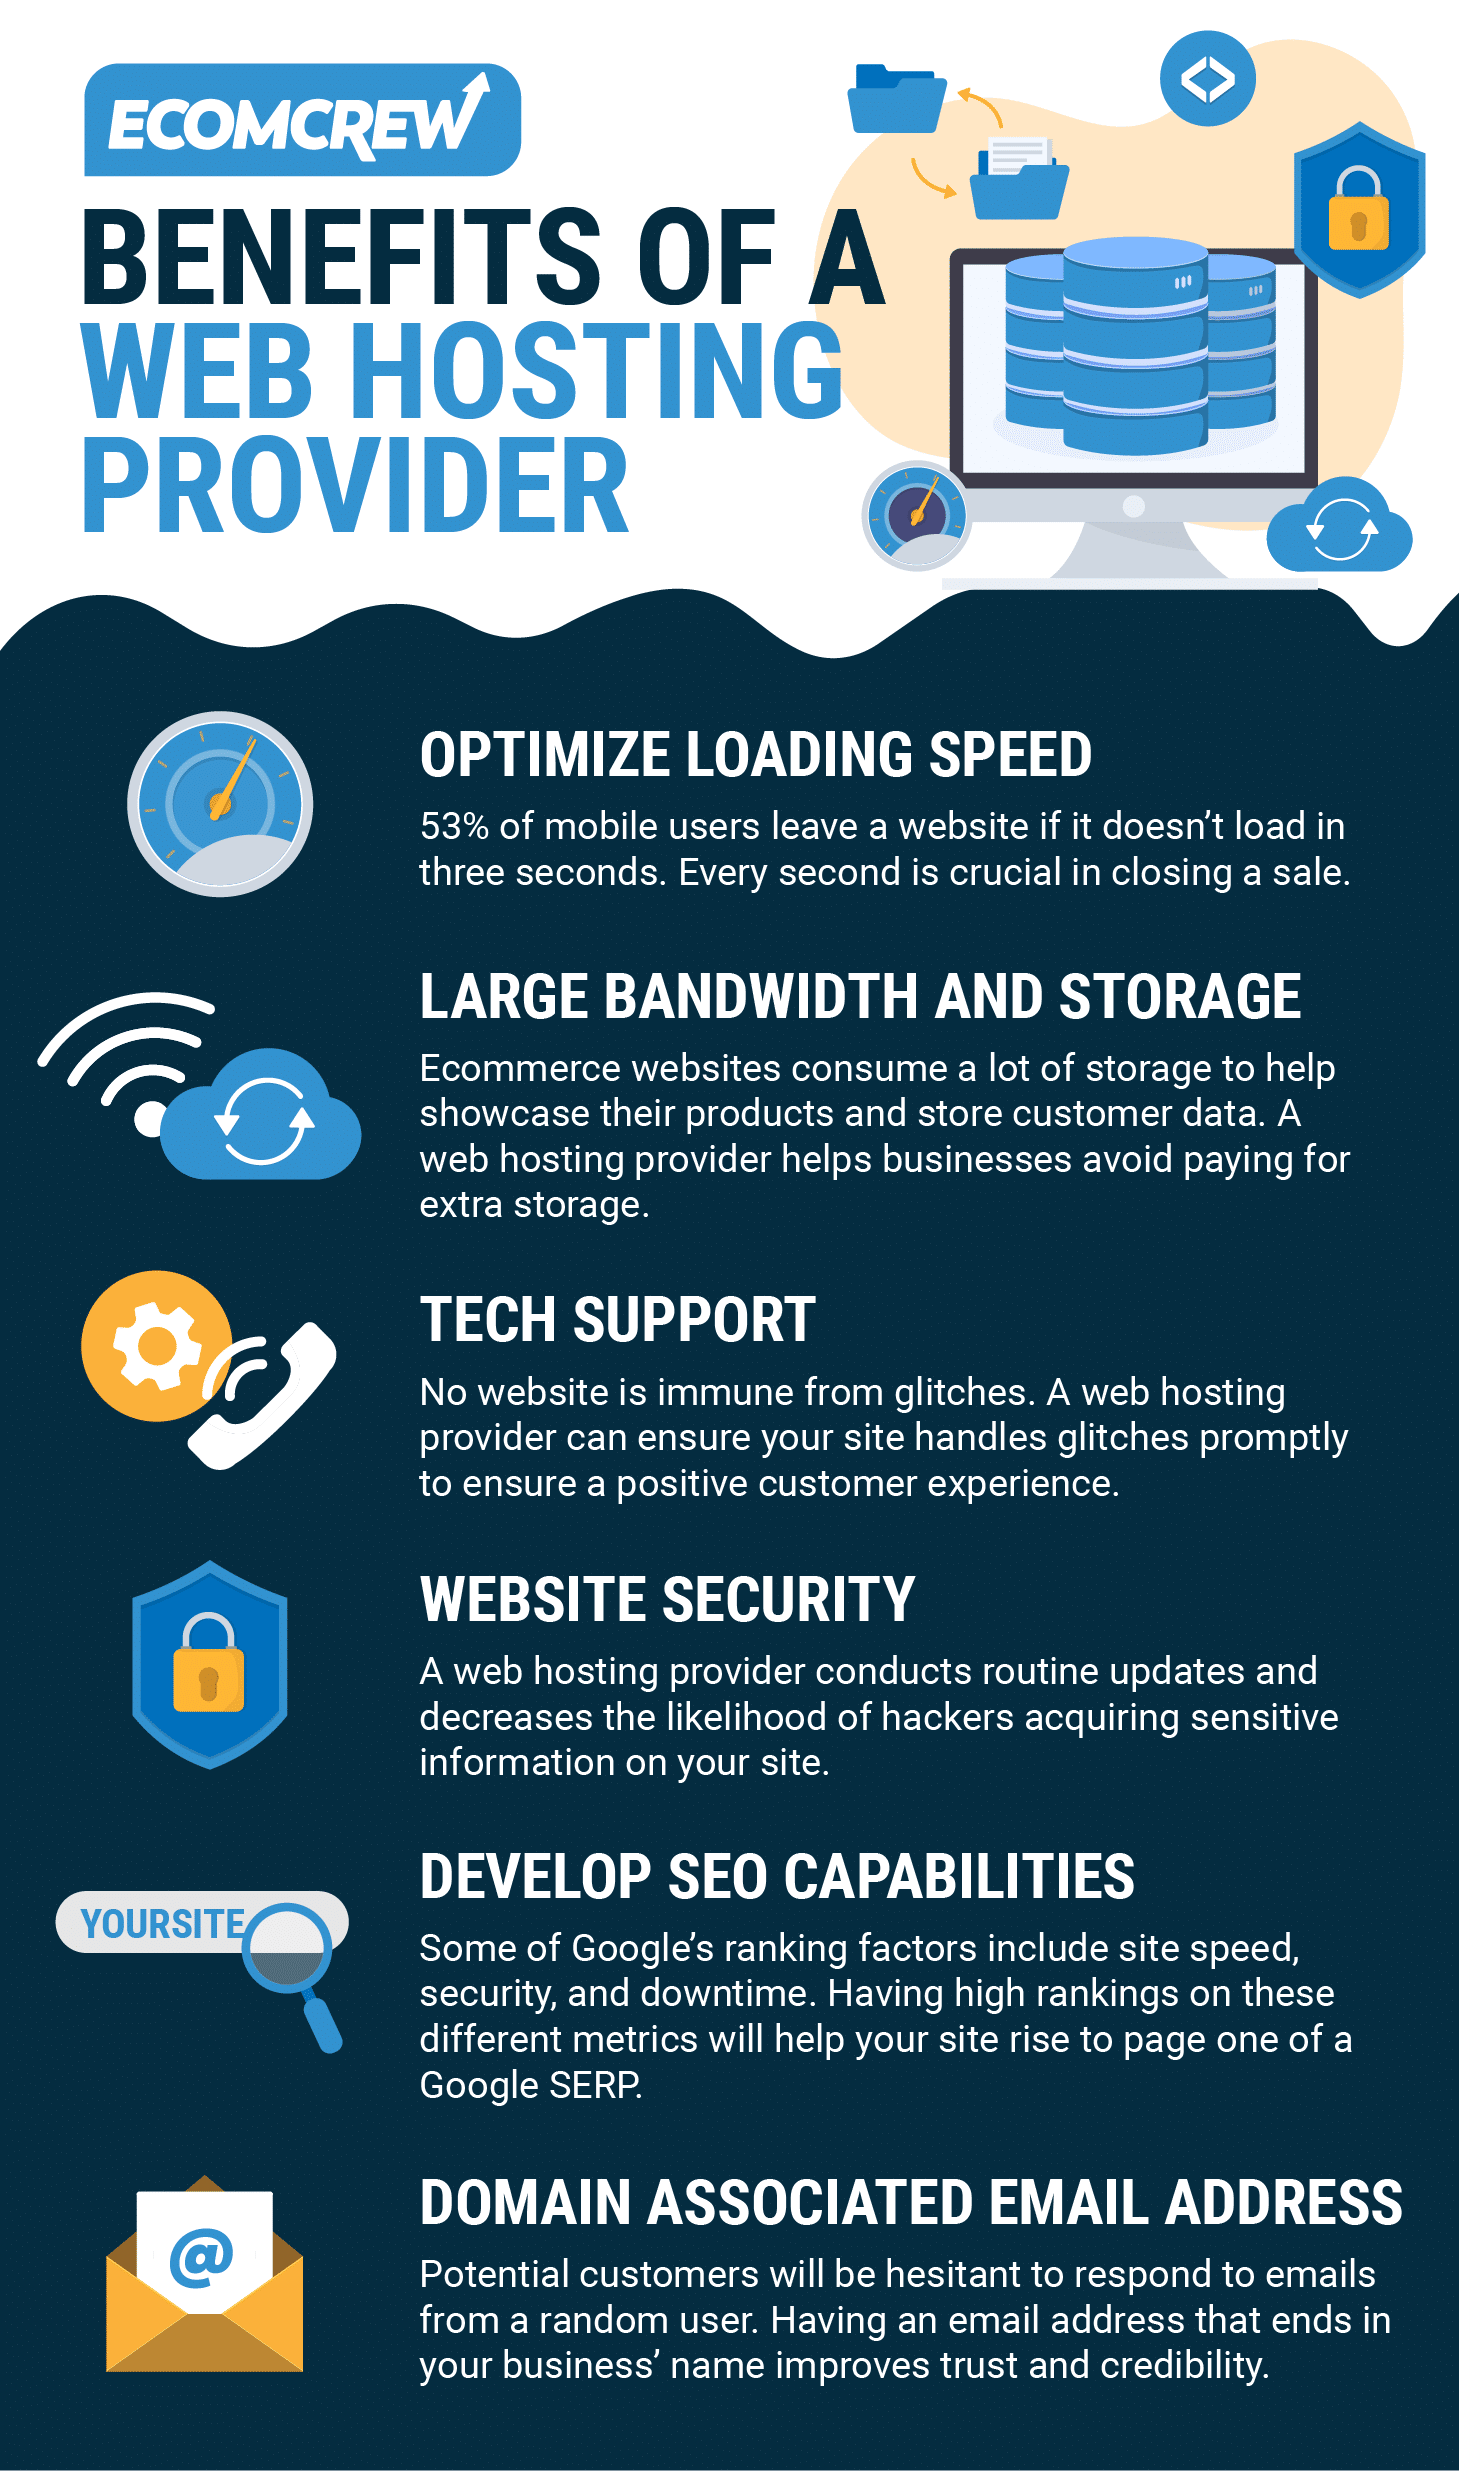
Step 2: Sign Up to a Hosting Provider
Now that you’ve chosen a name for your website, it’s time to choose a web hosting provider.
This is an important step in setting up your website because it involves storing your files, data, and content that build up your site, making it available to your audience.
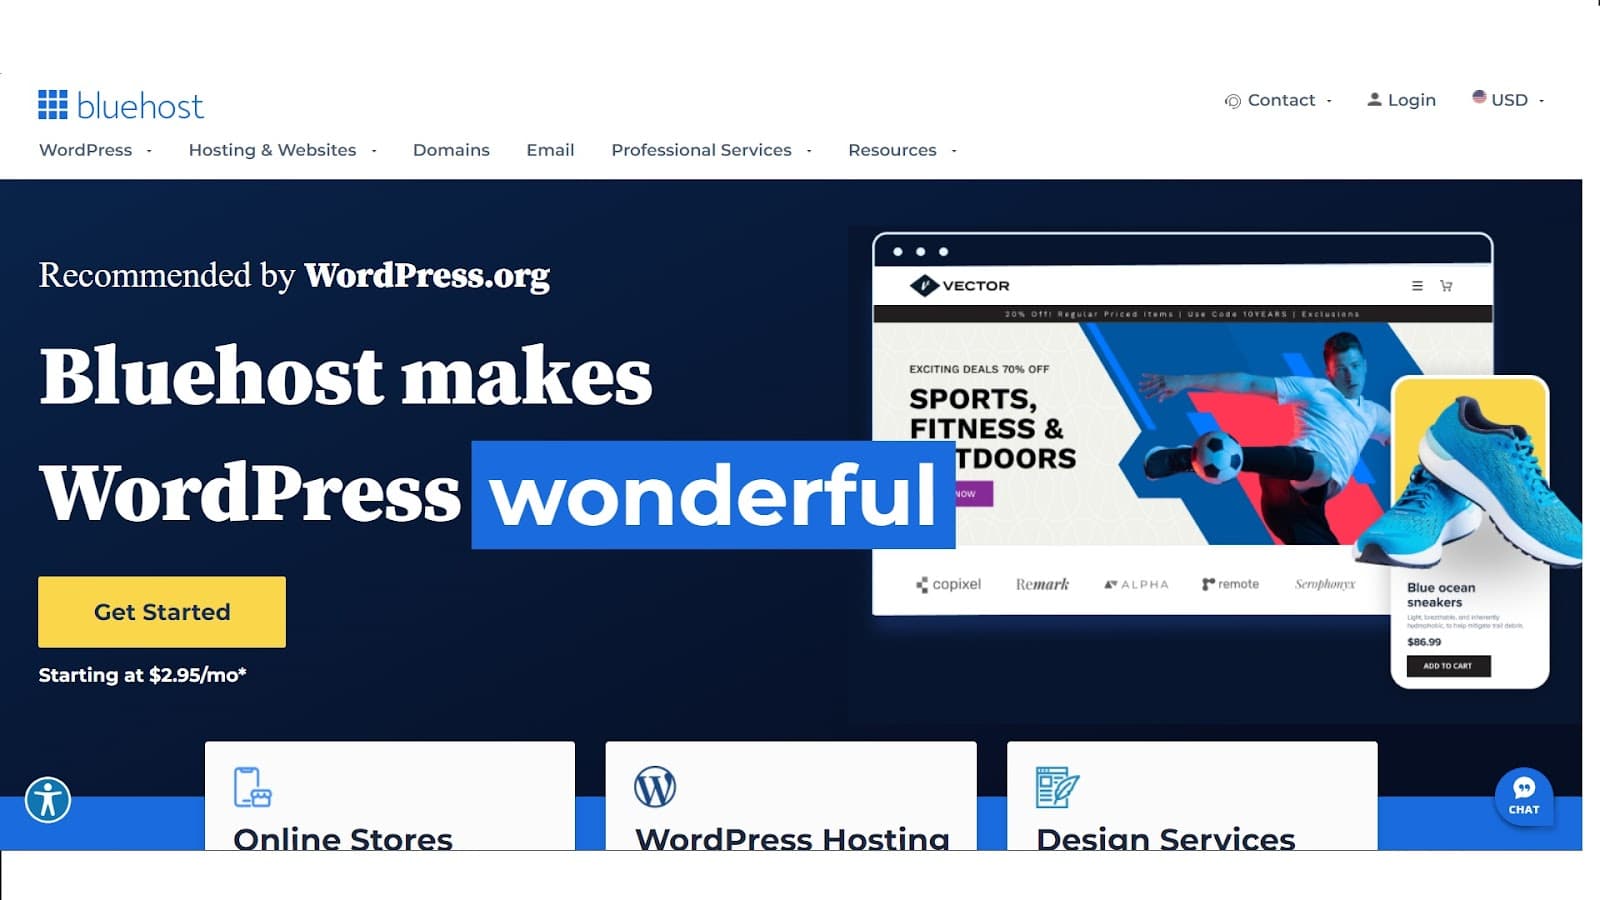
Bluehost is a site you can consider as it is the leading choice for WordPress hosting. While handling and maintaining WordPress can be a bit challenging compared to ecommerce builders and platforms, Bluehost simplifies the process by automating many tasks while keeping their prices at a minimum.
Step 3: Install WordPress
We recommend that while you’re choosing a hosting service provider for your website, look out for hosts that offer one-click WordPress installation to do the job for you. Since it’s free, you won’t have to worry about paying any installation fees.
After you’ve registered with a hosting provider that provides this type of installation, all that’s left to do is simply access your hosting dashboard and click on the button that says “Install WordPress.”
And voila! You’ve now installed WordPress and are ready to move on to the next step.

Step 4: Select an Ecommerce Plugin
Now, you may have been wondering what makes an ecommerce WordPress website different from a regular WordPress website. The main difference between the two is that an ecommerce WordPress website allows you to sell your products directly from the site.
To set this up, you’ll need to install an ecommerce plugin.
You’re free to choose whichever plugin that suits your needs. However, for us here at EcomCrew, we’ve found that WooCommerce is the best option for the job. It’s the most popular ecommerce WordPress plugin that’s best for turning your website into a fully functional WordPress online store.
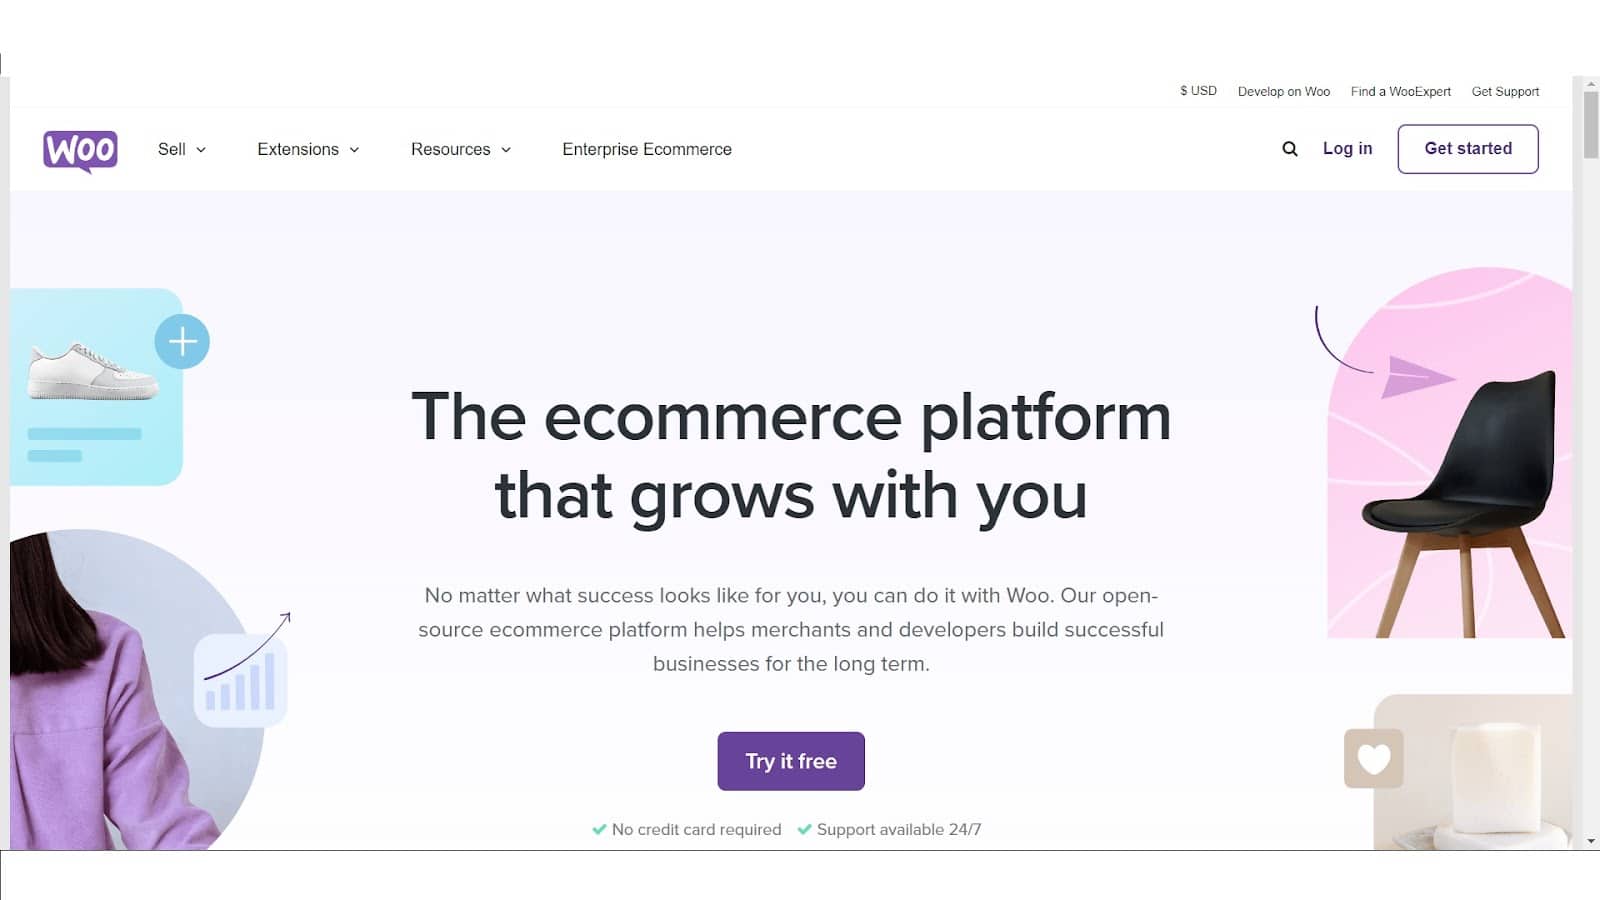
Some of its main features include product management, shopping cart and checkout, secure payment, and shipping options. The best part? It’s also free.
Here’s how you can install the WooCommerce plugin with just a few clicks:
- Open your WordPress dashboard, click on Plugins on the left sidebar > Add New.
- Search for “WooCommerce” in the search bar at the right side of your screen
- Click on Install Now next to the plugin
- Click on Activate Now
You’ll then be taken to the Woocommerce set-up wizard which will walk you through the rest of the steps needed to complete the set-up process.
You can then start configuring the basic parts of your ecommerce website with WooCommerce, including your business details, selecting your preferred payment & shipping options, and going through the sales tax module that will help automate taxes for you later on.
Once you’ve finished the steps mentioned above, you’re about halfway through setting up your ecommerce website.
Step 5: Add Products to Be Sold on the Website
To officially launch your online store, you’ll need to add products, services, downloads, or whatever you sell in your database.
To do so, go to the dashboard, click on Products on the left side of the screen then click Add Product. You’ll then see different WordPress editing fields where you can enter different information about a certain product.

For each product, you’ll need to enter basic info such as:
- Product name
- Price
- Main image
- Product category
- Additional images (optional)
- Product description
Next, click on Publish to add your products to your website.
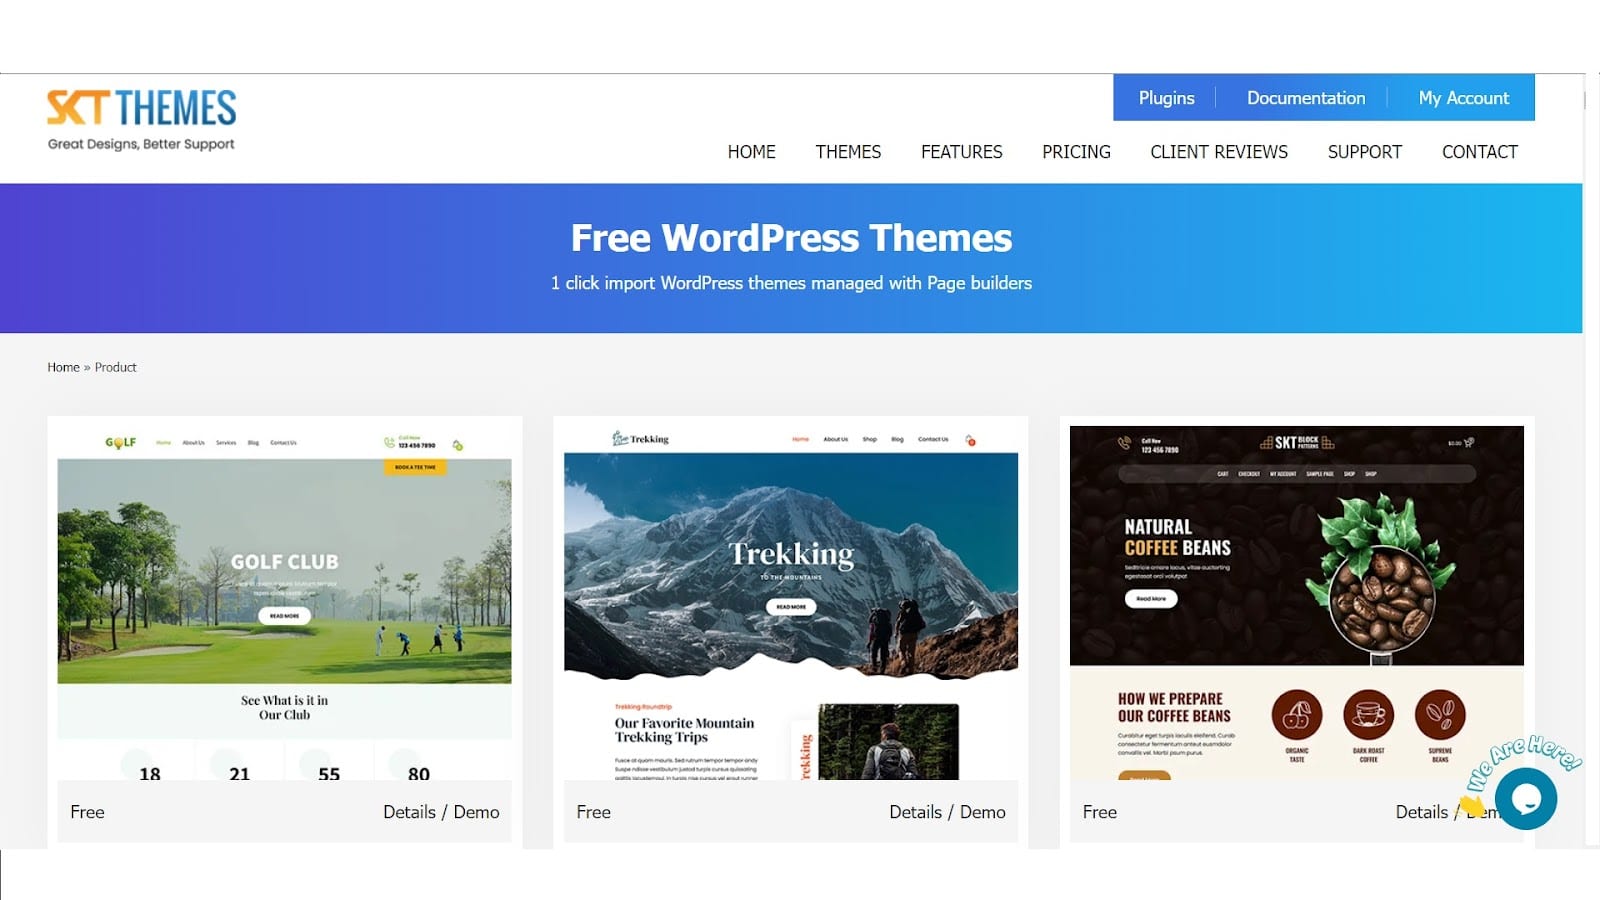
Step 6: Choose a Theme for the Website
The theme dictates how your website will appear to your visitors.
To browse for free themes, you can select one from WordPress’ theme directory, or you can check out third-party developers such as SKT Themes.
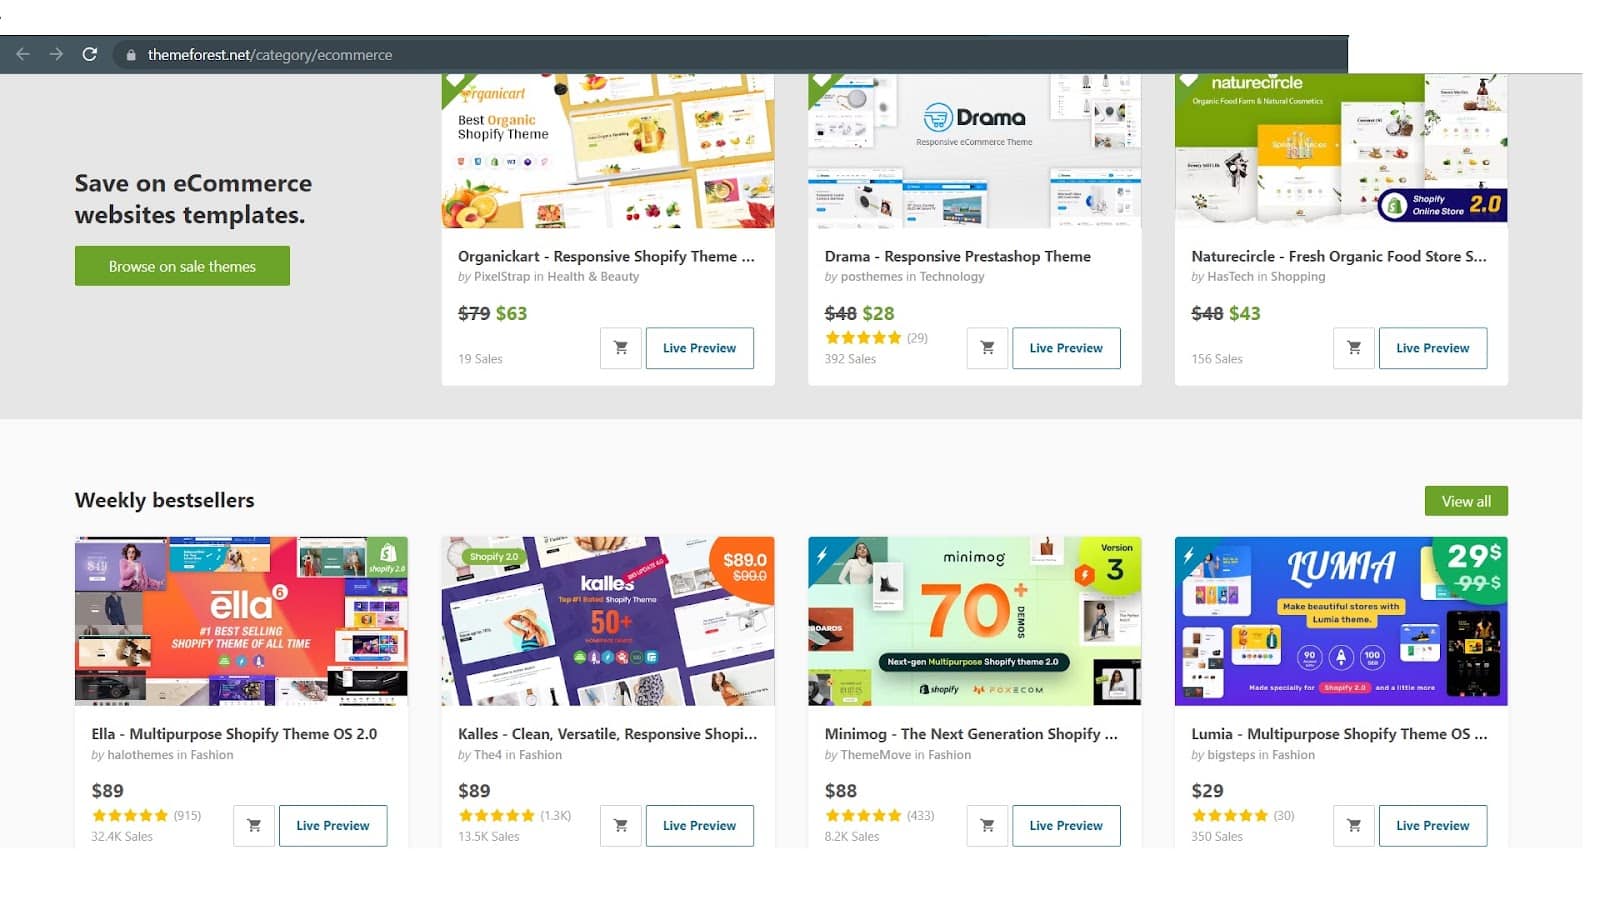
However, if you want your site to really impress potential customers and supercharge your WordPress ecommerce store, ThemeForest offers thousands of templates that are categorized according to your needs.
Ultimately, before you select a theme, make sure you have a vision of what your website looks like. There are thousands of available themes in both free and premium versions. Make sure you find one that works well with your brand colors, even if it means spending a few extra dollars. It will only help your business in the long run.
Step 7: Install Additional Plugins
Alongside WooCommerce, there are tons of additional plugins you can add to really amp up your site’s ecommerce experience. These could help perform specific functions any online store needs to run smoothly like:
- Payment Services
- Payment Gateway Tools
- Customer Order Cancellation
- Enabling User Registration
- Site Security
- Site Reviews
How Much Does It Cost to Set Up an Ecommerce Site with WordPress?
Yes, WordPress is free. But if you want to maximize its potential, you will need to pay a small fee for certain processes.
At the end of the day, every WordPress ecommerce store will pay different fees, depending on their needs. To avoid overwhelming you with all the Math, here are the primary costs your website should spend for:
- A hosting provider
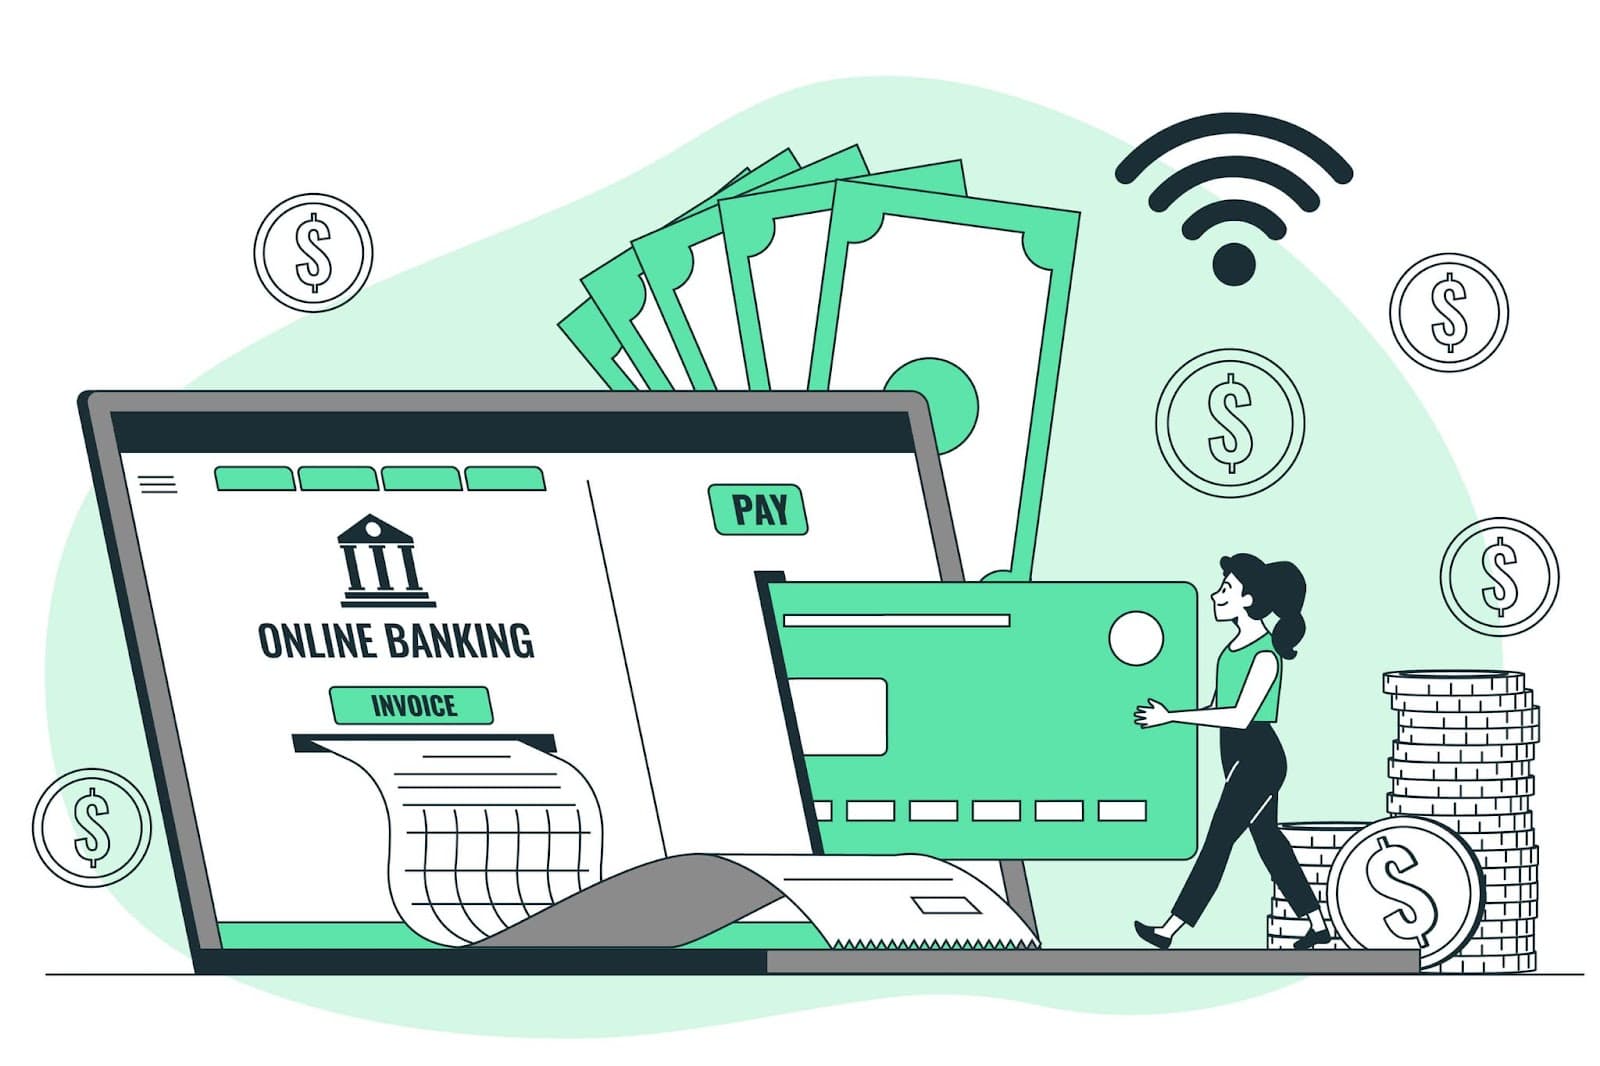
- Payment processes
- Website design
- Add-ons and extensions
* As per Beginners Guide For WordPress, the average price for a starter WordPress ecommerce website costs between $500 and $3000.
Is Running a WordPress Ecommerce Website Secure?
Yes, as long as you heed some precautionary measures. Due to its widespread popularity as a content management system software (CMS), WordPress becomes a primary target for hackers. Nevertheless, by applying the right precautionary measures, you minimize any risks of getting hacked and enhance the security of your WordPress ecommerce site.
How plugins can affect your ecommerce website’s security:
Plugins

The use of plugins significantly impacts the security of WordPress. While plugins play a big role in adding functionality to your website, they can also pose vulnerabilities if not coded or maintained properly.
We understand it can be tempting to download numerous WordPress ecommerce plugins, but all it takes is one faulty plugin to make your website slow and unstable.
Make sure to use plugins that are from reputable sources, regularly update them, and delete any plugins that are not being actively used. As a good rule of thumb, only have 20 to 30 plugins at a time.
Final Thoughts
Starting an ecommerce website from scratch sounds like a daunting task, especially when you have zero knowledge of web design. While there’s a myriad of options available, WordPress is still the best choice for beginners or experts.
Aside from its user-friendly interface and versatility to take on different plugins, a WordPress online store is easier to optimize, giving you a better understanding of what products resonate well with your audience to give you the biggest bang for your buck.
What’s stopping you from using WordPress to set up an ecommerce website?
Recommended Reading: How to Monetize a WordPress Site Using Takeads